Minds Networks enables you to optionally upgrade any page of your website or blog with community interaction by embedding comments on your pages. Here's how it works:
You add a special embed code on your website pages where you want comments. For every website page that has comments, a corresponding post is automatically created on your network. Comments are automatically synchronized between the comments on your website page and the post on your network, so people can keep up with the discussion no matter where they find it.
OK, want to get into the nitty gritty? Here's how you can add comments to your website or blog with Minds Networks.
Step 1: Decide which channel (account) you want to own your posts
As mentioned, every website page where you have comments embedded with have a corresponding network post automatically generated. That post will be generated on whichever network channel page you want – so step one is deciding which channel you want to own your comment thread posts.
For most people, this can just be your main network admin account. If you want to use another channel, you can create and log into that channel before following the rest of the steps.
Step 2: Enable comments on your channel
Navigate to your settings to enable comments on your channel. You'll find the comments settings by navigating like this:
More > Settings > Other > Embedded comments
There are two fields to configure here, which enable your Minds Network to securely create new posts for all of your website pages with comments.
Your domain
Add the domain where your website pages are hosted.
Do not include https://.
example.com
Your path pattern
The path pattern field allows you to use regular expressions (regex) to whitelist URLs on your website. This is useful for making sure that only the website pages you want have corresponding comments threads generated.
If you're not familiar with writing regex, it can be a bit difficult to figure out. We find tools like regex101.com very useful for writing and debugging regex. And here are some basic regex strings to match some common website URL patterns.
Match all pages
The easiest solution is to match every page on your specified domain. If you're not picky about which pages will generate comments threads, you can use this basic regex string:
(.*?)
Match a directory
If all of your website pages that need comments match a common URL directory pattern, you can easily whitelist just that directory. For example, many websites host all of their articles under an /articles/ directory (e.g. example.com/articles/article-slug). You can match this pattern with this simple regex string:
\/articles\/
If you have multiple directories you want to whitelist (e.g. /articles/ and /videos/), you can follow a pattern like this, using a | pipe character to separate each directory definition.
(\/articles\/|\/videos\/)
Exclude specific slugs
If you want to match most pages, but not all, you can use a regex like this, using a | pipe character to separate different slugs. This regex assumes you don't want to add comments to your main home page.
\/(?!exclude-me|exclude-me-too|definitely-exclude-me)\w
Click save when you're done.
Step 3: Get the user GUID for your channel
You'll need to find the user GUID number for your channel to plug into the embed code we'll generate in the next step. To get your user GUID, we'll need to create and load a URL that looks like this:
[yourdomain]/api/v1/channel/[username]
An easy way to do this is to click to your own channel profile page and then add api/v1/channel/ before your username in the URL. For example:
https://social.squig.link/superreview/
becomes
https://social.squig.link/api/v1/channel/superreview/
Load that URL and you'll get a developer readout of details about your channel, including the channel GUID number near the top. Copy that number and save it for later.
Step 4: Generate embed code
Now we can generate the embed code that you'll add to your website pages. Navigate here to our Minds developer docs to start.

Your network domain
Enter the domain – including subdomain – where your network is hosted.
Do not include https://.
URL to comment on
This is the full URL for the website page that you want to display comments on. Typically, people want comments to appear on multiple pages, not just one.
For now, you can enter just one example URL into this field. When you add the embed code to your website pages, you can use your website's templating language (e.g. Wordpress using PHP) to dynamically set this URL field for every website page you put it on.
The channel GUID who will own the activity post
This is where the aforementioned channel GUID number comes into play. Take that number you got earlier and paste it here.
The embed code preview below will automatically update and reflect your changes. Copy this embed code to add to your website pages.
Step 5: Add the embed code to your website pages
For the final step, you'll insert this embed code onto your website pages where you want the comments to appear. If your website is hosted on something like Wordpress or Squarespace, you'll want to edit the theme template files that generate your pages.
Insert the embed code onto the page where you want the comments to appear. For example, if you want the comments to appear at the end of an article, insert the embed code below the articles contents in your theme template.
Note that the embed code's data-href field should reference a unique URL on your website for each comment thread that you want. More than likely, you'll want to use your website's templating language to dynamically update this field with the URL of each page.
Wordpress
If your website is built on Wordpress, you can use this PHP tag to dynamically fill in the URL of your website page:
<?php the_permalink() ?>
Adding this to the embed code, your embed code may look like this:
<div
class="minds-comments"
data-href="<?php the_permalink() ?>"
data-owner-guid="0000000000000000"
></div>
<script async defer crossorigin="anonymous" src="https://subdomain.example.com/plugins/embedded-comments/js/embed.js"></script>
Step 6: You're done! Or, debugging…
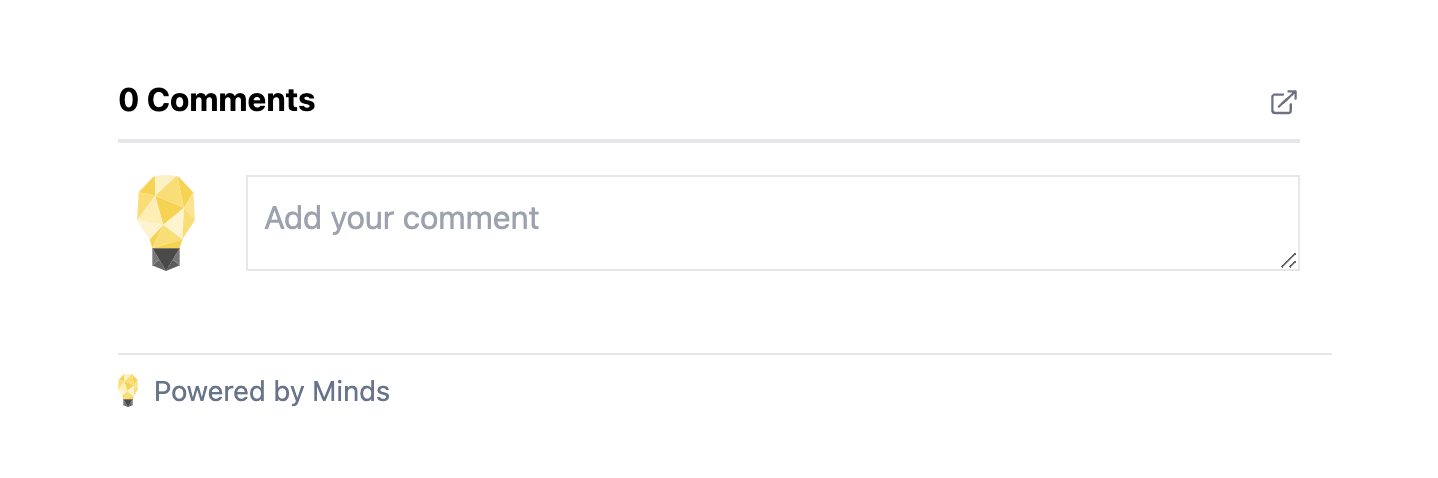
After adding the embed code to your page template, load one of your website pages where you want comments to appear and confirm that an empty comments section appears. Congrats!
If things aren't working, here are some common reasons why…
Error: No comments appear at all
Use the developer tools of your web browser to see if the embed code is being added to your page. If it's not, check your console for javascript error logs. Commonly you may see errors referencing "CORS policy." To resolve these errors, confirm that you've correctly entered your network domain into the embed code. If you included the https:// when using the code generator, you may have a malformed URL in your embed code, or you may be referencing a domain that's not the same as the website page you're adding comments to.
Error: The provided url does not match the configured url pattern
This error indicates that the regex string you defined in your channel settings does not match the website page you've added the comments to. You'll need to debug and edit your regex string in your channel settings to resolve this.
Error: Internal server error
If you previously had comments on a page but deleted the post that was automatically generated on your network to host these comments, you may get this error. At the moment, the only way to resolve this is to use another website page URL.